
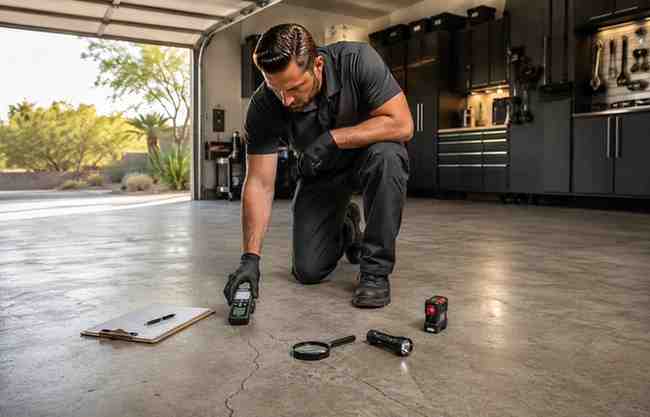
Every project starts with a close look at the existing concrete — checking for cracks, staining, previous coatings, moisture issues, and general surface condition, including moisture testing where relevant. This step exists because coating selection and preparation requirements can't be accurately determined without first understanding the concrete's actual condition — skipping assessment risks selecting a system that isn't suited to the property, which affects long-term performance before installation even begins.
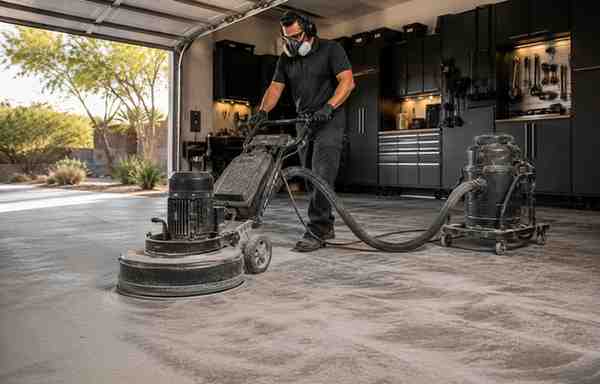
Diamond grinding mechanically opens up the concrete, removing contaminants while creating the surface profile the coating needs to bond to. Diamond grinding creates mechanical bond by physically opening the concrete's surface profile, giving the coating something to grip rather than simply sitting on top of a smooth or contaminated surface. Stronger mechanical bond directly translates into better long-term adhesion and reduces the risk of peeling or delamination later.
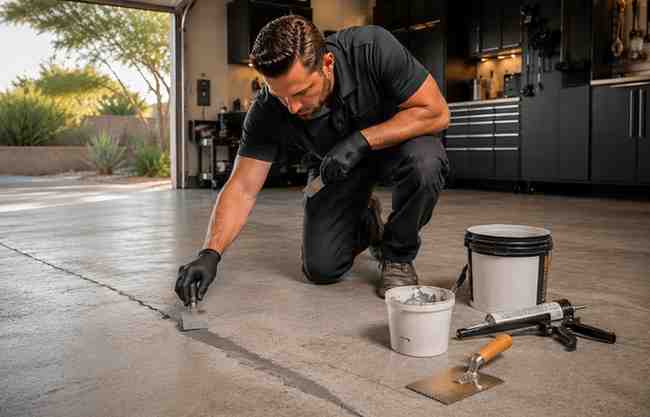
Cracks and surface imperfections are addressed directly, creating a stable, even foundation before any coating goes down. Addressing cracks and expansion joints before coating application prevents those same stress points from telegraphing through the finished coating later. Concrete restoration at this stage protects the investment in the coating itself, since a coating applied over unresolved damage typically fails at the same points the concrete already was weak.
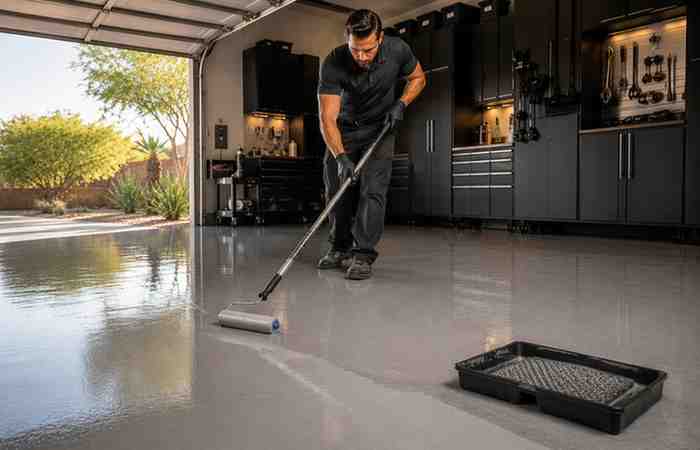
With the concrete prepared and repaired, the base coat goes down first, applied according to manufacturer specifications for mixing, timing, and coverage. Correct mixing ratios and application timing directly affect how well the base coat cures and bonds — rushed or improperly mixed base coats are a common cause of adhesion failure, which is why this step follows manufacturer specifications closely rather than general estimation.
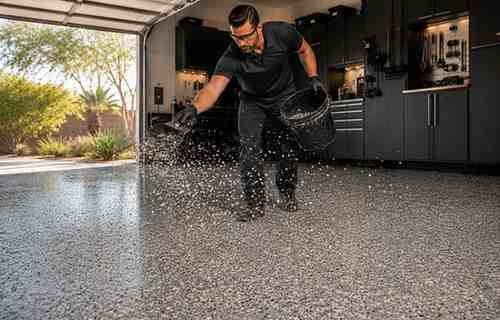
This is where the floor's final appearance takes shape — broadcasting decorative flakes, working in color blends, or building toward a metallic effect. Beyond appearance, broadcast flakes add measurable texture that improves slip resistance underfoot, which is a functional performance benefit as much as a visual one.
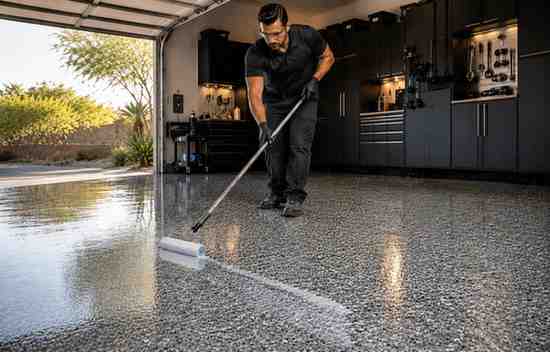
A polyurethane or polyaspartic topcoat serves as the final protective layer, adding resistance to UV exposure, chemical spills, and everyday abrasion while giving the floor its finished sheen. Proper curing time for the topcoat matters here — a topcoat that hasn't fully cured before the floor sees traffic is more vulnerable to scuffing and abrasion, which is why recommended cure times are followed rather than shortened to speed up project turnaround.
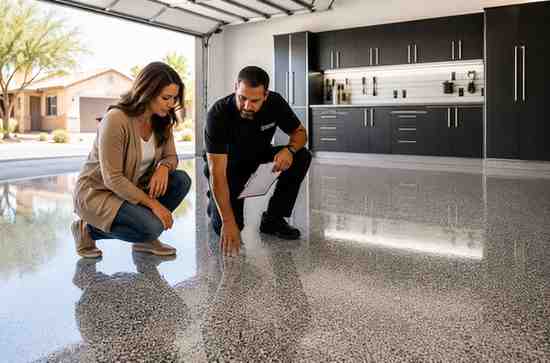
Once the coating has cured, the completed floor is reviewed against professional quality standards, and property owners are walked through basic care guidance. Quality inspection at this stage confirms the coating has bonded and cured correctly across the full surface before the project is considered complete, rather than relying on a visual check alone.